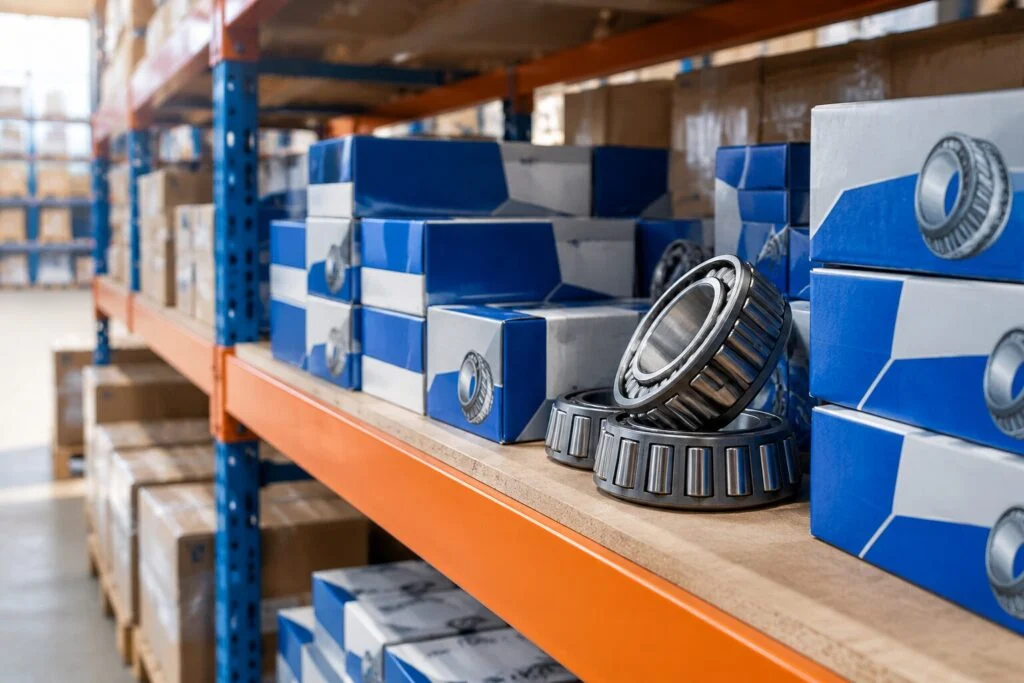
CV Axle Replacement Guide & Wholesale Bearings Supplier
Most axle noise is not from the CV joint itself, but from a hub bearing deformed during improper installation.
Proper CV axle replacement requires precise bearing fit and correct installation tools to prevent premature failure and noise. The core issue is often tolerance mismatch during the press-in process, not the axle component quality.
I still remember the heat of the Las Vegas convention center and the frustration on a regular customer’s face. He was not angry about price or delivery time. He was holding a damaged hub assembly, pointing at a distorted cage. He explained that our previous batch of bearings had a tolerance deviation that made them impossible to press into the hub without excessive force. The technicians, under pressure to finish jobs, used hammers instead of hydraulic presses. The result was immediate internal damage that manifested as noise only after a few months of driving. That incident shifted my entire approach to sourcing. I stopped looking at bearings as isolated commodities and started evaluating them as part of an installation system. Now, before discussing any order, I ask about the shop’s pressing equipment and their typical workflow. This shift from transactional selling to technical partnership has reduced comeback rates for many of my clients significantly. [NEED_CITE: impact of installation method on bearing lifespan]
The market is flooded with components that meet basic dimensional checks but fail under real-world assembly stress. Understanding the mechanics of CV axle replacement is not just for mechanics; it is critical for distributors who want to support their clients with reliable parts. When a bearing is pressed in incorrectly, the internal geometry changes. The balls or rollers no longer sit in their optimal raceway position. This leads to uneven load distribution, heat generation, and eventual failure. By focusing on the installation process, we can identify which bearings are truly robust and which are merely cheap imitations.
What Tools Are Essential for CV Axle Replacement?
Using proper hydraulic presses prevents bearing cage damage and ensures consistent results.
The most common mistake in workshops is the reliance on impact tools. Hammering a CV axle or a bearing into place creates shock loads that the delicate internal components cannot withstand. A hydraulic press applies steady, controlled force, allowing the bearing to seat evenly without distorting the cage or the outer ring. [NEED_CITE: SAE guidelines on bearing installation forces]
In many small repair shops, space and budget constraints lead to improvised solutions. However, the cost of a single warranty claim due to a failed bearing far exceeds the investment in a proper press. I have seen shops switch from manual screw presses to air-hydraulic units and report a noticeable drop in early-stage noise complaints. The key is not just having a press, but using the right adapters. Custom pullers and drivers that match the specific diameter of the hub and axle end are essential. These tools distribute the force over the entire surface area, preventing point loading that can crack the bearing race.
When sourcing bearings for resale, I look for manufacturers that provide detailed installation instructions. These documents often specify the maximum pressing force required. If a supplier cannot provide this data, it is a red flag. It suggests they have not tested their product under realistic assembly conditions. For distributors, offering technical datasheets alongside the physical product adds value. It helps repair shops train their staff and avoid costly errors. The right tools, combined with the right knowledge, transform CV axle replacement from a gamble into a predictable, repeatable process.
How to Prepare the Hub and Bearing for Installation?
Cleaning and verifying dimensional tolerances ensure a smooth press-fit and prevent premature wear.
Before any pressing begins, the hub bore must be immaculate. Rust, dirt, or old metal burrs create high spots that interfere with the bearing’s seating. Even a microscopic particle can cause the bearing to sit cocked, leading to uneven runout. I recommend using a fine abrasive cloth to clean the bore, followed by a dial indicator check to ensure it is within specification. [NEED_CITE: ISO standards for hub bore surface finish]
Tolerance verification is where many low-cost bearings fail. The interference fit between the bearing outer ring and the hub bore is critical. If the fit is too loose, the bearing will spin in the hub, causing fretting corrosion. If it is too tight, the pressing force required may deform the bearing. High-quality bearings maintain strict control over these dimensions. In my experience, premium brands like SKF, FAG, and NSK consistently hold tighter tolerances than generic alternatives. This consistency means less variability during installation and fewer surprises for the technician.
For wholesalers, this is a key differentiator. Selling bearings with verified traceability and documented quality control allows you to command a better price. Clients are willing to pay more for parts that do not cause headaches. When a bearing arrives with a certificate of conformity that includes dimensional checks, it signals reliability. This documentation is especially important for large fleet operators who need to standardize their maintenance procedures. They cannot afford to guess whether a batch of bearings will fit correctly. By prioritizing preparation and verification, we ensure that every CV axle replacement starts on solid ground.
What Is the Correct Pressing Sequence for the CV Axle?
Aligning the axle perfectly avoids uneven load distribution on the bearing and extends service life.
The sequence of installation matters. First, the bearing is pressed into the hub. Then, the CV axle is inserted through the bearing. During this second step, it is crucial to support the inner ring of the bearing. If force is applied only to the outer ring or the seal, the internal components can be damaged. The axle should slide in smoothly. If resistance is felt, it is a sign of misalignment or a dimensional issue. [NEED_CITE: manufacturer installation sequences for front-wheel drive axles]
I once worked with a distributor in Southeast Asia who faced high return rates on a specific vehicle model. Upon investigation, we found that the technicians were pressing the axle in without supporting the inner race. This caused the balls to shift slightly, creating a rough feeling that customers interpreted as a defect. By introducing a simple support tool that held the inner ring stationary during axle insertion, the problem disappeared. This small change in procedure saved the distributor significant money in returns and shipping costs.
Proper alignment also affects the CV joint itself. If the axle is forced in at an angle, the tripod or spline connection can be damaged. This leads to vibration and noise that is often misdiagnosed as a bearing issue. Technicians need to be trained to check the alignment visually before applying full pressure. For suppliers, providing visual guides or short video clips demonstrating the correct sequence can be a powerful marketing tool. It shows that you understand the practical challenges your customers face. When the pressing sequence is followed correctly, the CV axle replacement process becomes efficient and reliable.
How to Verify the Installation Before Road Testing?
Checking runout and listening for initial noise catches installation errors early.
Before the vehicle leaves the shop, a final verification step is essential. This involves checking the rotational runout of the hub. A dial indicator mounted on a stable base can measure any wobble in the hub face. Excessive runout indicates that the bearing is not seated correctly or that the hub itself is damaged. [NEED_CITE: acceptable runout limits for automotive hub assemblies]
Listening for noise is also critical. With the vehicle lifted and the wheel spinning freely, a technician should listen for any grinding or clicking sounds. A properly installed bearing should rotate silently and smoothly. Any resistance or noise suggests an issue that needs to be addressed immediately. Catching these problems in the shop is far cheaper than dealing with a customer complaint after the vehicle has been driven.
For distributors, emphasizing the importance of this verification step can help reduce warranty claims. Many shops skip this step to save time, leading to higher failure rates. By educating your clients on the value of thorough testing, you position yourself as a partner in their success. You are not just selling a part; you are selling a solution that works. This approach builds trust and loyalty. When shops know that your bearings are designed to perform well when installed correctly, they are more likely to return for future orders. Proper verification ensures that every CV axle replacement meets the highest standards of quality and safety.
Conclusion
Precision in installation is as important as the quality of the bearing itself.
Successful CV axle replacement depends on using the right tools, verifying tolerances, following the correct pressing sequence, and performing thorough post-installation checks. By focusing on these technical details, distributors and repair shops can reduce failures and build stronger customer relationships. Sourcing genuine, precision-grade hub bearings with complete traceability ensures exact OEM tolerances for flawless press-fits.